| •
|
When removing and installing the fender,
an assistant is necessary. |
| •
|
Be careful not to damage the fender and
body. |
| •
|
When removing the clips, use a clip
remover. | |
| 1. |
Remove the front bumper cover.
(Refer to the BD group – “Front
bumper”) |
| 2. |
Remove the head lamps.
(Refer to the BE group – “Head
Lamps”) |
| 3. |
Loosen the mud guard (A) mounting screws and
clips.
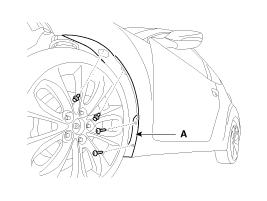
|
| 4. |
To remove the A pillar garnish (A), loosen the
mounting screw after removing the cap (B).
Tightening
torque :
0.5 ~ 1.0N.m (0.05 ~ 0.1kgf.m, 0.4 ~ 0.7
lb-ft)
|
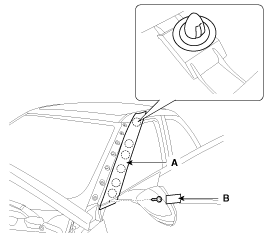
|
| 5. |
Detach the clip and then remove the fender
side cover (A).
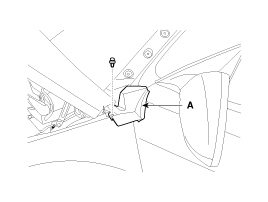
|
| 6. |
Detach the clips and then remove the insulator
pad (A).
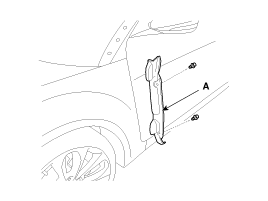
|
| 7. |
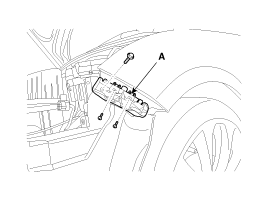
After loosening the mounting screws and bolt,
then remove the front bumper side mounting bracket (A).
|
| 8. |
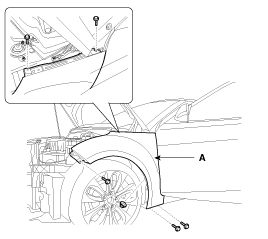
After loosening the mounting bolts and nut,
then remove the fender (A).
|
| 9. |
Installation is the reverse of
removal. | |