| •
|
Put on gloves to protect your
hands. |
| •
|
Use a plastic panel removal tool to
remove interior trim pieces to without marring the
surface. |
| •
|
Take care not bend or scratch the cover
and other
parts. | |
| 1. |
After loosening the mounting screws, then
remove the rear combination lamp
(A). |
| 2. |
Push the lock pin, disconnect the connector
(B).
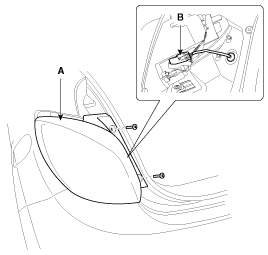
|
| 3. |
After loosening the rear bumper side’s
mounting screw, then disconnect the side’s.
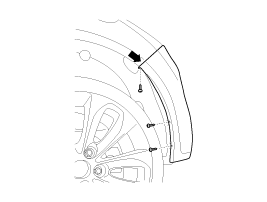
|
| 4. |
Remove the rear bumper lower mounting
clips.
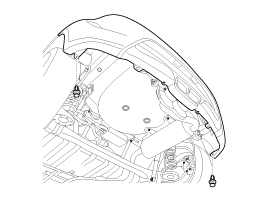
|
| 5. |
Loosen the mounting bolts.
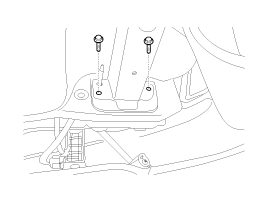
|
| 6. |
After loosening the mounting screw and clip,
then remove the rear bumper (A).
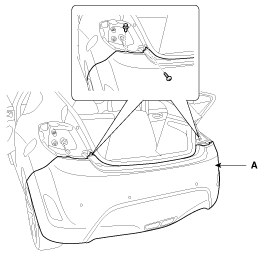
|
| 7. |
Push the lock pin, disconnect the rear bumper
main connector (A).
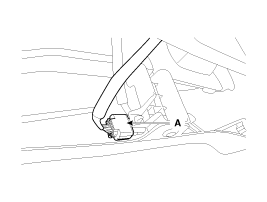
|
| 8. |
Installation is the reverse of
removal.
| •
|
Make sure the connector is plugged
in properly. |
| •
|
Replace any damage
clips. | | | |